How to Get Max Profit from Your SmartCPA Campaigns?

This post is also available in:
![]() ES
ES
Insights and cases are what a good company blog is made for, isn’t it? Well, we couldn’t agree more and today happy to announce that PropellerAds blog will now be regularly updated with “Expert tips” posts. And this time we are talking about SmartCPA campaign creation and tips on how to manage it.
Which bidding-model to choose?
How to use Retargeting properly? How to maximize ROI with SmartCPA pricing? We’ve asked top affiliates and online marketers to answer those questions and share more insights and ideas about promoting with PropellerAds with you.
The first expert post was kindly prepared by Mr. Braun, one of the top affiliate marketer, STM Forum moderator and well-known member of the global affiliate community.
About a SmartCPA campaign: what is this model?
This particular model is a possibility to create an advertising campaign with Cost per Action (CPA). It differs from publicly known CPM so that you pay only for the actions you need (for example, signing up, downloading, installing and running apps, mobile subscription).
When your SmartCPA campaign is running, PropellerAds machine learning system will show your campaign on many zones to find out, which of them correspond to your advertising content and provide conversions. After this test, the system will automatically remove «bad» zones, which don’t give you conversions and leave only profitable ones. The campaign goes on with tested zones, and you pay only for successful conversions.

Creating a SmartCPA campaign
Before creating a campaign, you have to set up a Postback from your tracking platform to the PropellerAds system, so that the platform could receive conversion info. For that, you need to sign into “Tracking”, copy your unique Postback URL and add it to your tracker, changing the token visitor_id=${SUBID} to the one you need in advance.
Here you can find out how to connect the PropellerAds system to different trackers. Then you can start creating a campaign.
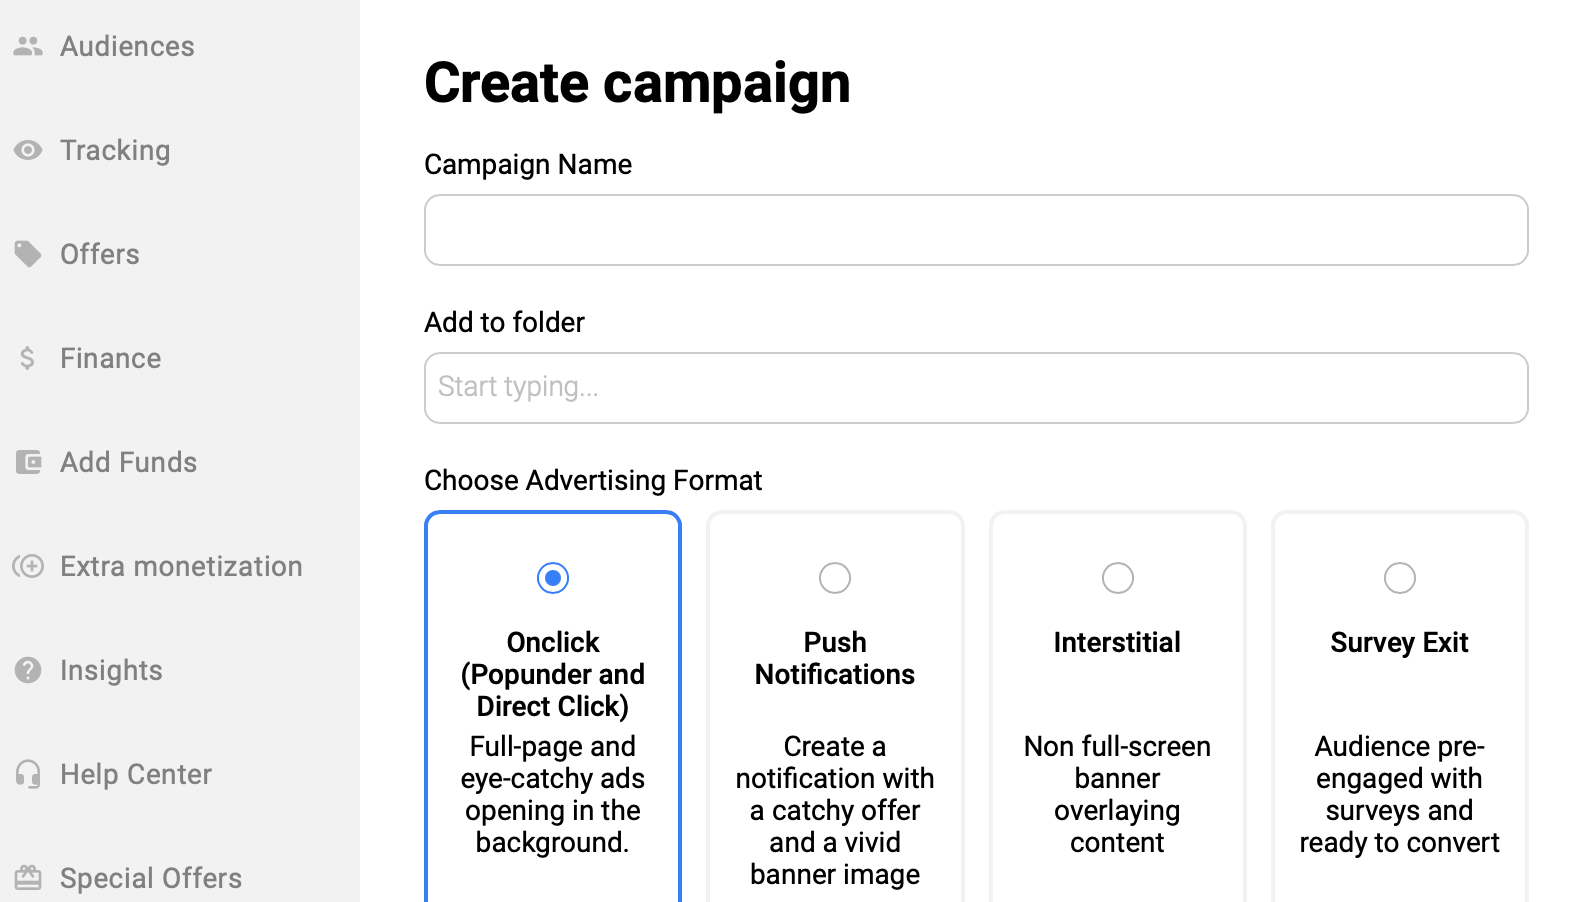
- Campaign Name – I recommend using simple and understandable names, so that if anything crops up, you could easily find the particular campaign and not get confused with it.
- Pricing Model – here you should choose SmartCPA.
- Target URL – enter the campaign link from your tracker. Do not forget about the ${SUBID} token! It’s necessary to add it, otherwise you won’t be able to create a campaign. It’s a unique visitor’s identifier that allows you to track real-time conversions and optimize your campaigns.
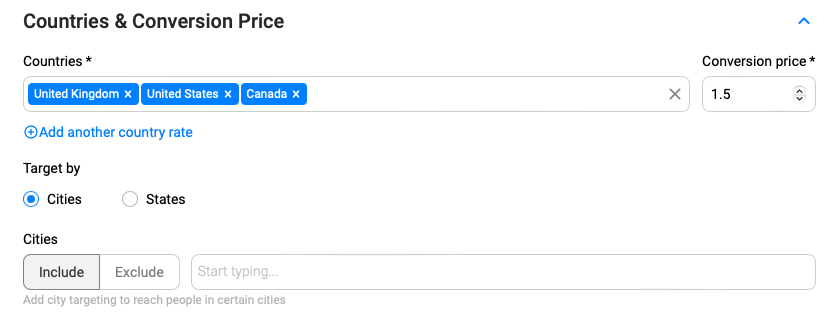
- Countries – enter GEOs, which you want to run. It should be pointed out that I don’t recommend “mixing” many countries in one particular campaign. The best solution is to create a separate campaign for each GEO.
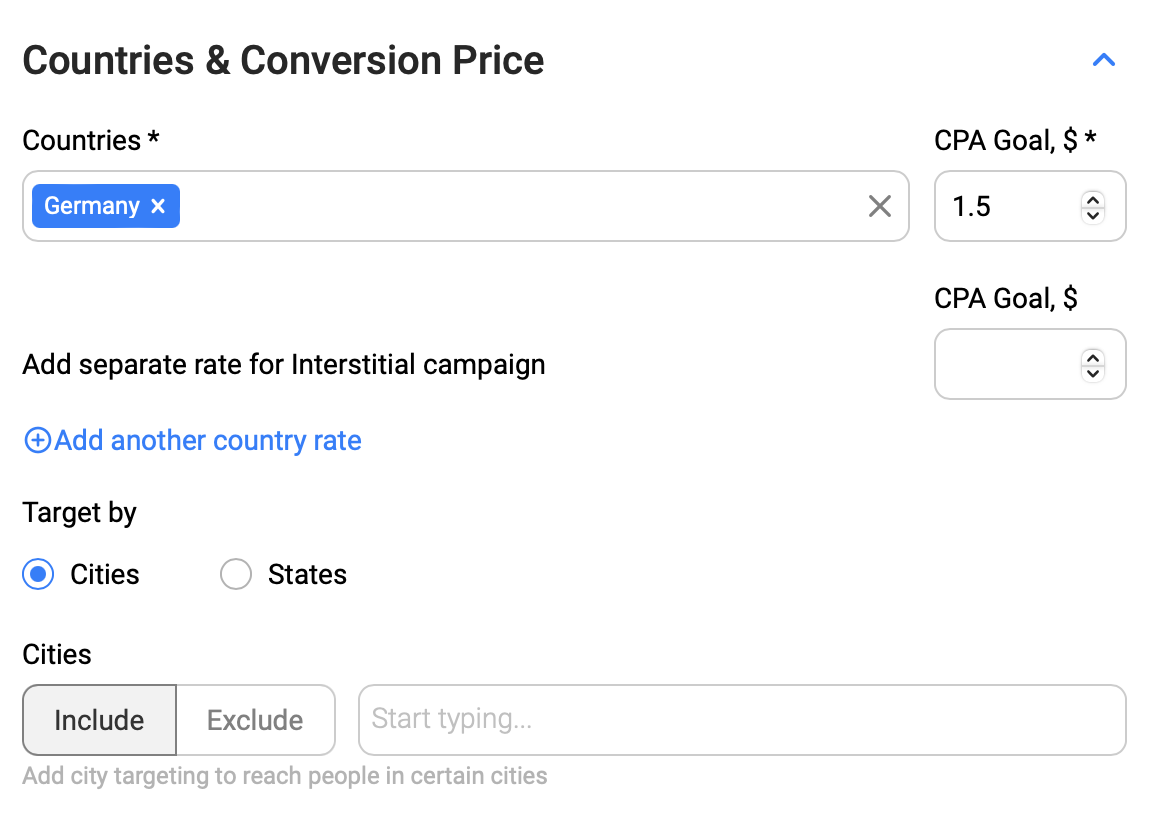
- Conversion Price – enter the amount to be paid for every single lead. Very important feature: keep in mind that traffic with high quality costs a lot, that’s why I recommend you to set a 70-80% of offer’s payout from the affiliate network. This will provide you with a maximal amount of traffic, including premium zones. For example, if you have an offer with $2 payout, you’ll have to set a $1.50 price for each conversion. Your ROI won’t be very high, but you’ll gain more profit this way.
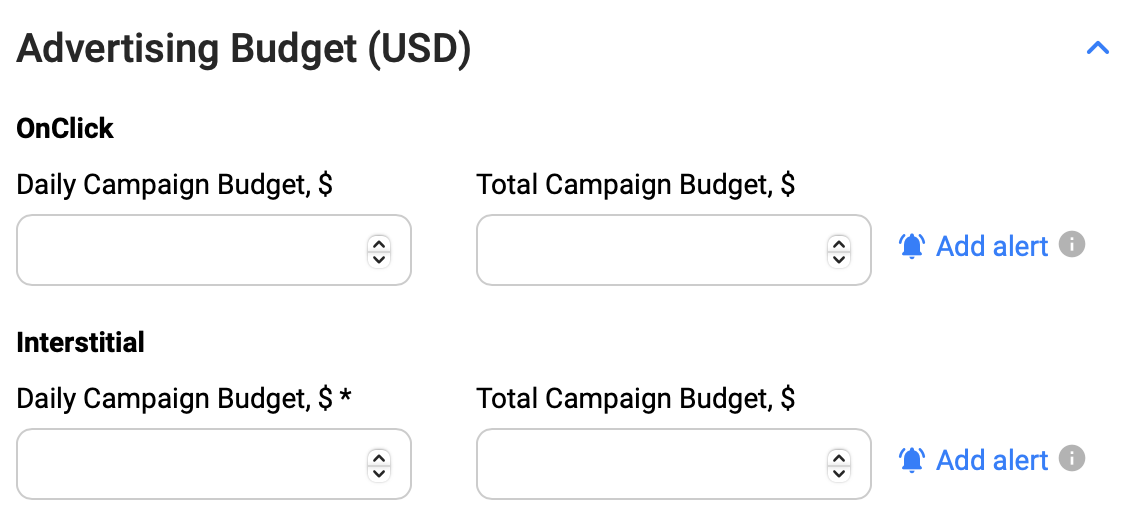
- Advertising Budget – you can set up an individual budget for your campaign: daily or total. Keep in mind that a limited budget won’t allow you to test enough zones for your campaign.
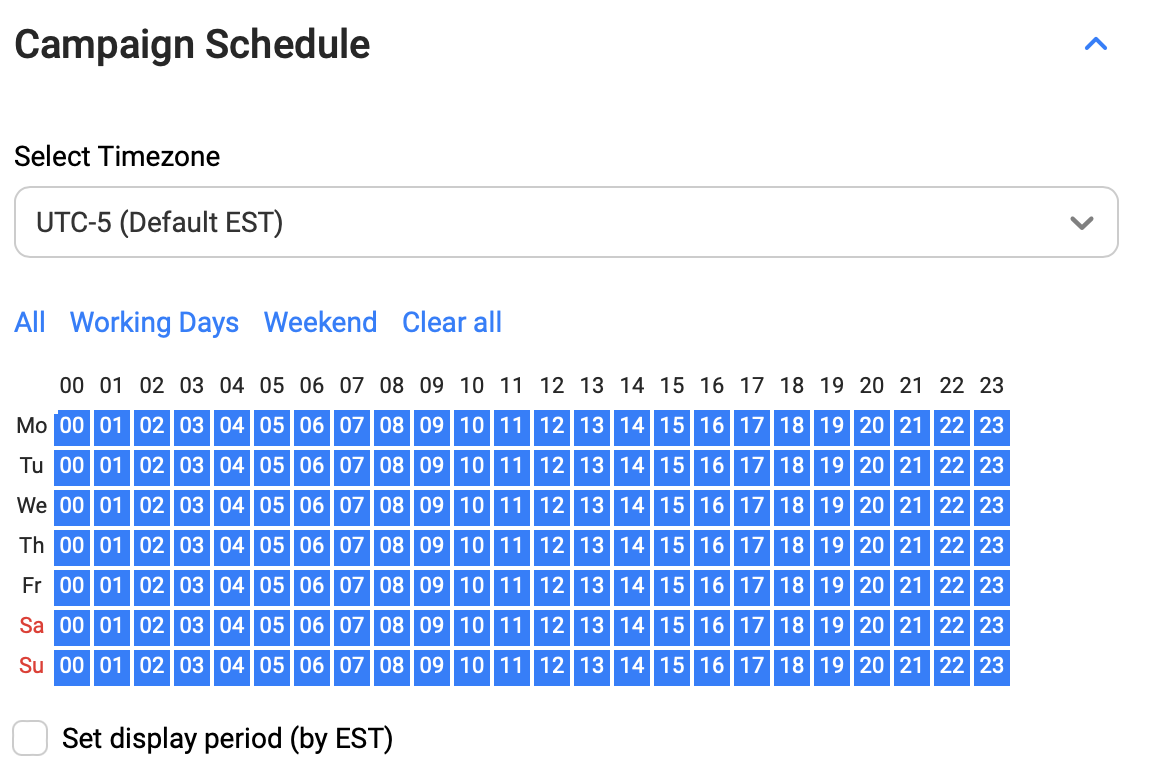
- Schedule – you can also adjust a schedule, according to which the users will see your ad (hours and days). I recommend you to run a non-schedule traffic for maximal efficiency.
Next step is the most crucial one, if you want to get a maximal profit from your campaigns. It’s targeting. Keep in mind that in the case of SmartCPA model the system will optimize zones for your campaign, but you need to set max. precise and high-profit targeting, so that your campaign will show a good CPM (cost for 1000 visits), and the system will give you a maximal amount of traffic.
On the test stage, I recommend you to set a supreme wide targeting – to test as many possible combinations of parameters as possible, and pick the most profitable ones. If we talk about mobile traffic: you can set “All Mobile”, about desktop one – “All Desktop”. An advanced targeting you will use after the optimization process (further information below).
You don’t have to add Black/White lists of zones, because the SmartCPA algorithm will optimize it for you automatically.
What kind of offers you can run, using SmartCPA model
In actual practice, using this model, you can run the same verticals and offers, which you can with the CPM model. However, I strongly recommend the following.
For mobile traffic (Smartphones & Tablets):
Mobile Content offers (Pin-Submits, 1-clicks): Anti-viruses, SweepsTakes, offers with Download Content pages, Videos, Entertainment offers, and other offers with mobile subscriptions.
Installs for Android and iOS: Anti-Viruses, Phone Cleaners, Battery Savers, Games, Taxi and food delivery apps, applications of popular shops, and various entertainment apps.
LeadGen:
- Sweepstakes (SOI, DOI), Coupon sites.
- iGaming
- Finance
For desktop traffic:
- Sweepstakes (SOI, DOI, and Pin-Submits)
- Software
- iGaming
- Finance
- Games
- eCommerce
- Nutrition
- Social
All these verticals work on Propeller Ads traffic excellently, but don’t forget that there’s a big amount of other offers and verticals, and you can try something else.

Analytics and optimization process
If you use PropellerAds SmartCPA cost model, the system will show your advertisement in all possible zones available. After the test, the system will automatically select zones with the maximum number of conversions and a good CPM, and only then will your adverts appear. This way, you’ll get the most specific traffic from the websites whose audience is allied to your ads and is ready to do the lead.
After running your campaign, I recommend to wait for 24h. During this period, you will collect enough data, and you’ll be able to see which slices show you a good COM and optimize your campaign.
Parameters that I recommend to optimize:
- Device types (SmartPhones/Tablets)
- Operation Systems (Android, iOS, Win.Phone etc) and their versions
- Browsers (Chrome, Firefox, Opera, Android Browser, etc)
- Type of traffic: 3G or WIFI
- Mobile carriers
- Languages
You can see on this screenshot that Android shows two times better CPC, than iOS ($0.0017 CPC = $1.7 CPM):

What do I recommend to do in this case?
- Create a new campaign (a double one), and leave only settings that show you the highest CPM and get enough traffic. This way, your new Slice (mix of various settings. for example: Germany, Smartphones, Android, 3G) will get a new number of test visits, and if you set only parameters that show a good CPM, your campaign will receive much more good traffic, and, consequently, conversions. As well as from zones, that have already shown a bad result in your main campaign due to low CPM.
The optimization is crucial while working with SmartCPA Model. Afterward, you understand which “traffic slices” bring you a good result; you can only receive a passive profit from your campaigns! The rest the system shall do for you! In a while, you can test new landings, fresher ones, but it’s better to do it in a separate campaign.

Words of advice
I recommend creating two campaigns: one with Wi-Fi traffic and another one – with 3G because the difference in CR (as well as in CPM) may be rather big (up to five times). This way, you get more traffic and conversions.
It’s highly recommended to view the carrier’s statistics. It happens often that one of them shows much better results than the others. In this case, it’s reasonable to create a separate campaign with a good carrier and get many more leads.
- I recommend analyzing the campaign at least on the next day, to give yourself and the platform an opportunity to collect enough data of your campaign.
You don’t need a black-or-white website list. All you need is to do a precise and well-done targeting, and to add good offers and LPs.
Don’t use time targeting while working with SmartCPA campaigns. Let your ads run all throughout the day.
If your offer requires slow action (confirmed order, deposit payment), start analyzing a little bit later than usual.
- I recommend setting the cost, equal to 70-80% from your payout. This way, your CPM would be higher, than if you put 30-50%. Hence, your campaign appears higher in the arranging list, and you get much more traffic.
If you have different offers with various payouts, create a separate campaign for each offer or take an arithmetic mean. After the test, you should leave one of the very best offer and set the cost, depending on its payout.
If you are not sure about the quality of your offers, you may try creating a CPM model campaign. Spend some money (at least 10 x payout) to see what EPV (Earn Per Visit) they provide. If this mark suits you – run it through the SmartCPA model.
- I recommend creating twins of your campaign from time to time, so that the system could pick up new zones (1-2 times per month).
Good luck!
Come join us on Telegram for more insights and communications with fellow-affiliates!
Trends
View more posts